Step 1
Stir 2 Tbsp. (16 g) flour and ½ cup water in a small skillet, preferably nonstick, over medium heat with a heatproof rubber spatula to combine and cook, stirring constantly, until thickened to the texture of mayonnaise, about 2 minutes; remove from heat. Add 4 Tbsp. unsalted butter, cut into small pieces and stir until melted. Transfer tangzhong to the bowl of a stand mixer.
Step 2
Add 2 large eggs, ½ cup whole milk, ¼ cup (50 g) sugar, 1 Tbsp. Diamond Crystal or 1¾ tsp. Morton kosher salt, and 1 ¼-oz. envelope instant yeast (about 2¼ tsp.) to tangzhong; stir vigorously by hand with rubber spatula until incorporated. Add remaining 4 cups (500 g) flour, attach bowl to stand mixer fitted with a dough hook or paddle, and mix on low speed until dough is smooth and soft (it may stick to bottom of bowl but should mostly clear sides), 20–25 minutes. Pinch off a small piece of dough and stretch it between your thumbs and index fingers on both hands. The dough should be able to stretch thin enough to let light through without breaking. If it tears, the gluten is not yet developed enough. Keep mixing until it can stretch; it may take up to 30 minutes.
Step 3
Transfer dough to a work surface (no need to flour) and shape into a ball. Lightly grease stand mixer bowl with vegetable oil. Return dough to bowl, cover tightly with a plate or plastic wrap, and let rise in a warm, draft-free spot until nearly doubled in size, about 2 hours. (For optimal flavor, let dough sit at room temperature 30 minutes, then cover tightly or transfer to an airtight container and chill at least 8 hours and up to 2 days to proof slowly.)
Step 4
Meanwhile, cut 1 cup (2 sticks) salted butter into 1-Tbsp. pieces and arrange in a single layer on a large plate or small baking sheet. Chill in freezer until ready to use.
Step 5
Transfer dough to a surface (no need to bring to room temperature before
shaping if you chilled it). Using a bench scraper or paring knife, cut dough into 70–75
g portions (you’ll get 12–16 portions depending on how much your dough has risen).
Working with 1 portion at a time, cup your hand over dough and drag across surface,
moving your hand in a rapid circular motion to form into a tight ball (cold dough is
easier to work with; rolling into balls on an unfloured, ungreased counter creates
friction and helps the shaping process). Place on a baking sheet and cover with plastic
wrap; let sit 15 minutes.
Step 6
Uncover dough (save plastic wrap) and, working one at a time, carefully roll
each ball into a cone shape with your hands (you want them about 4″ on the wider
end). Return to baking sheet and re-cover with reserved plastic wrap. Let dough rest 15
minutes.
Step 7
Place a cone in front of you on surface with wider end facing toward you (keep
remaining cones covered in plastic wrap). Lightly flatten with your palm, then roll out
dough lengthwise to make an isosceles triangle about 12″ long with a
3½”–4″-wide base (short side of triangle). Place 1 Tbsp. frozen salted butter
at base of dough and roll up (not too tightly) like a croissant. Arrange, seam side
down, back on baking sheet. Repeat with remaining cones and salted butter (you may not
need all of the butter; save it for another use). Let rolls sit at room temperature
until slightly puffed, about 1 hour.
Step 8
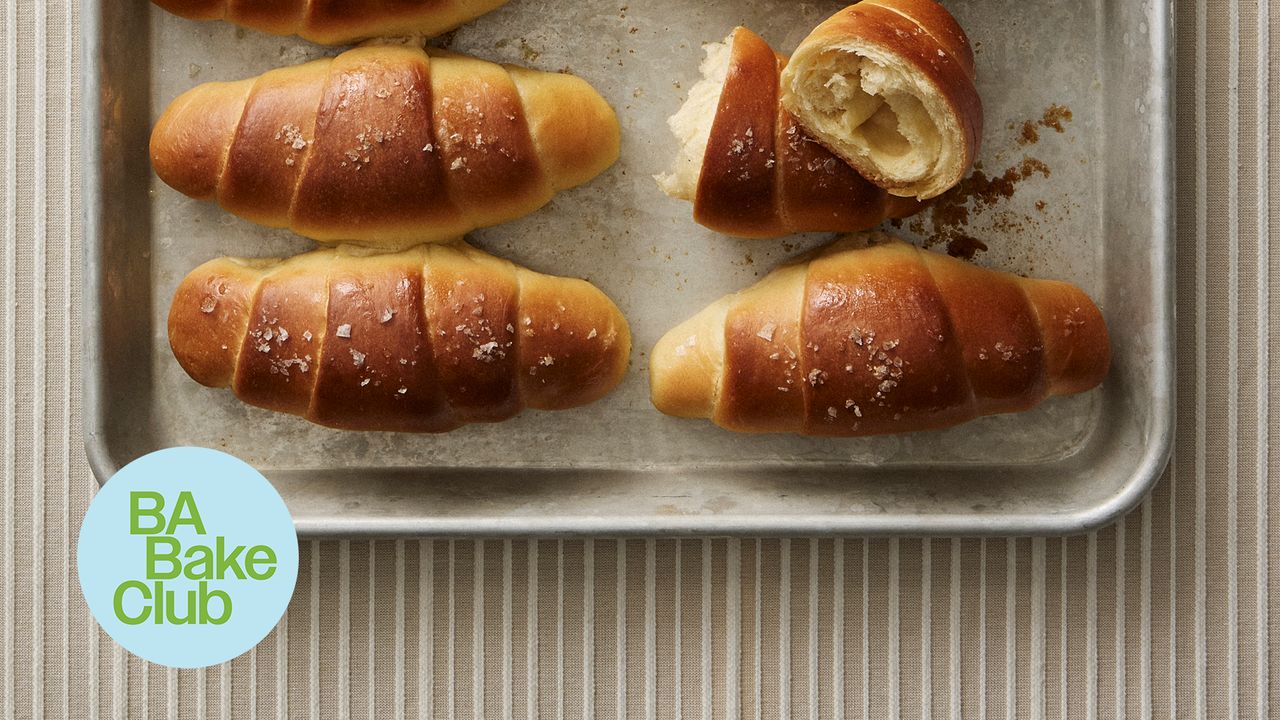
Place a rack in lowest position in oven; preheat to 425°. Remove plastic from rolls. Lightly mist rolls with water from spray bottle; sprinkle with flaky sea salt. Bake 10 minutes. Rotate baking sheet front to back and continue baking rolls until golden brown on top and bottom, 5–8 minutes more (keep an eye that they don’t burn). Remove from oven (there will be melted butter on baking sheet, so be careful) and, using a heatproof pastry brush, brush butter on baking sheet over rolls. Let rolls cool at least 10 minutes before serving.
Do Ahead: Rolls can be baked 2 hours ahead. Store at room temperature.
PakarPBN
A Private Blog Network (PBN) is a collection of websites that are controlled by a single individual or organization and used primarily to build backlinks to a “money site” in order to influence its ranking in search engines such as Google. The core idea behind a PBN is based on the importance of backlinks in Google’s ranking algorithm. Since Google views backlinks as signals of authority and trust, some website owners attempt to artificially create these signals through a controlled network of sites.
In a typical PBN setup, the owner acquires expired or aged domains that already have existing authority, backlinks, and history. These domains are rebuilt with new content and hosted separately, often using different IP addresses, hosting providers, themes, and ownership details to make them appear unrelated. Within the content published on these sites, links are strategically placed that point to the main website the owner wants to rank higher. By doing this, the owner attempts to pass link equity (also known as “link juice”) from the PBN sites to the target website.
The purpose of a PBN is to give the impression that the target website is naturally earning links from multiple independent sources. If done effectively, this can temporarily improve keyword rankings, increase organic visibility, and drive more traffic from search results.
Streaming Film
Nonton Film gratis
Jasa Backlink
Download Anime Batch